Restain Wood Cabinets Like a Pro What You Need to Know
Breathe New Life Into Your Kitchen With a Professional-Looking Finish
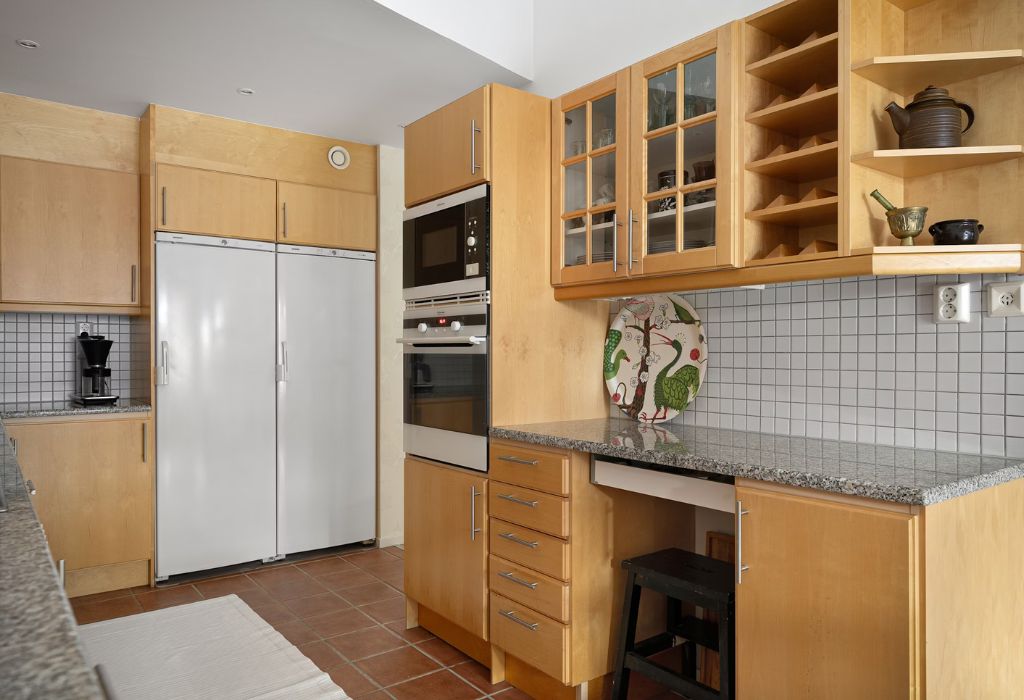
If your wood kitchen cabinets are looking dull, scratched, or outdated—but still structurally sound—restaining might be the perfect solution. It’s a fantastic way to refresh your space without the cost and complexity of a full renovation. But before you dive into the process, it’s important to understand what’s involved in achieving professional-level results.
In this guide, we’ll break down everything you need to know torestain wood cabinets like a pro—from preparation and product selection to expert application tips and long-term care. Plus, we’ll explain why many homeowners ultimately turn to professional kitchen cabinets painters for flawless, lasting results.
Why Restaining Is a Smart Choice
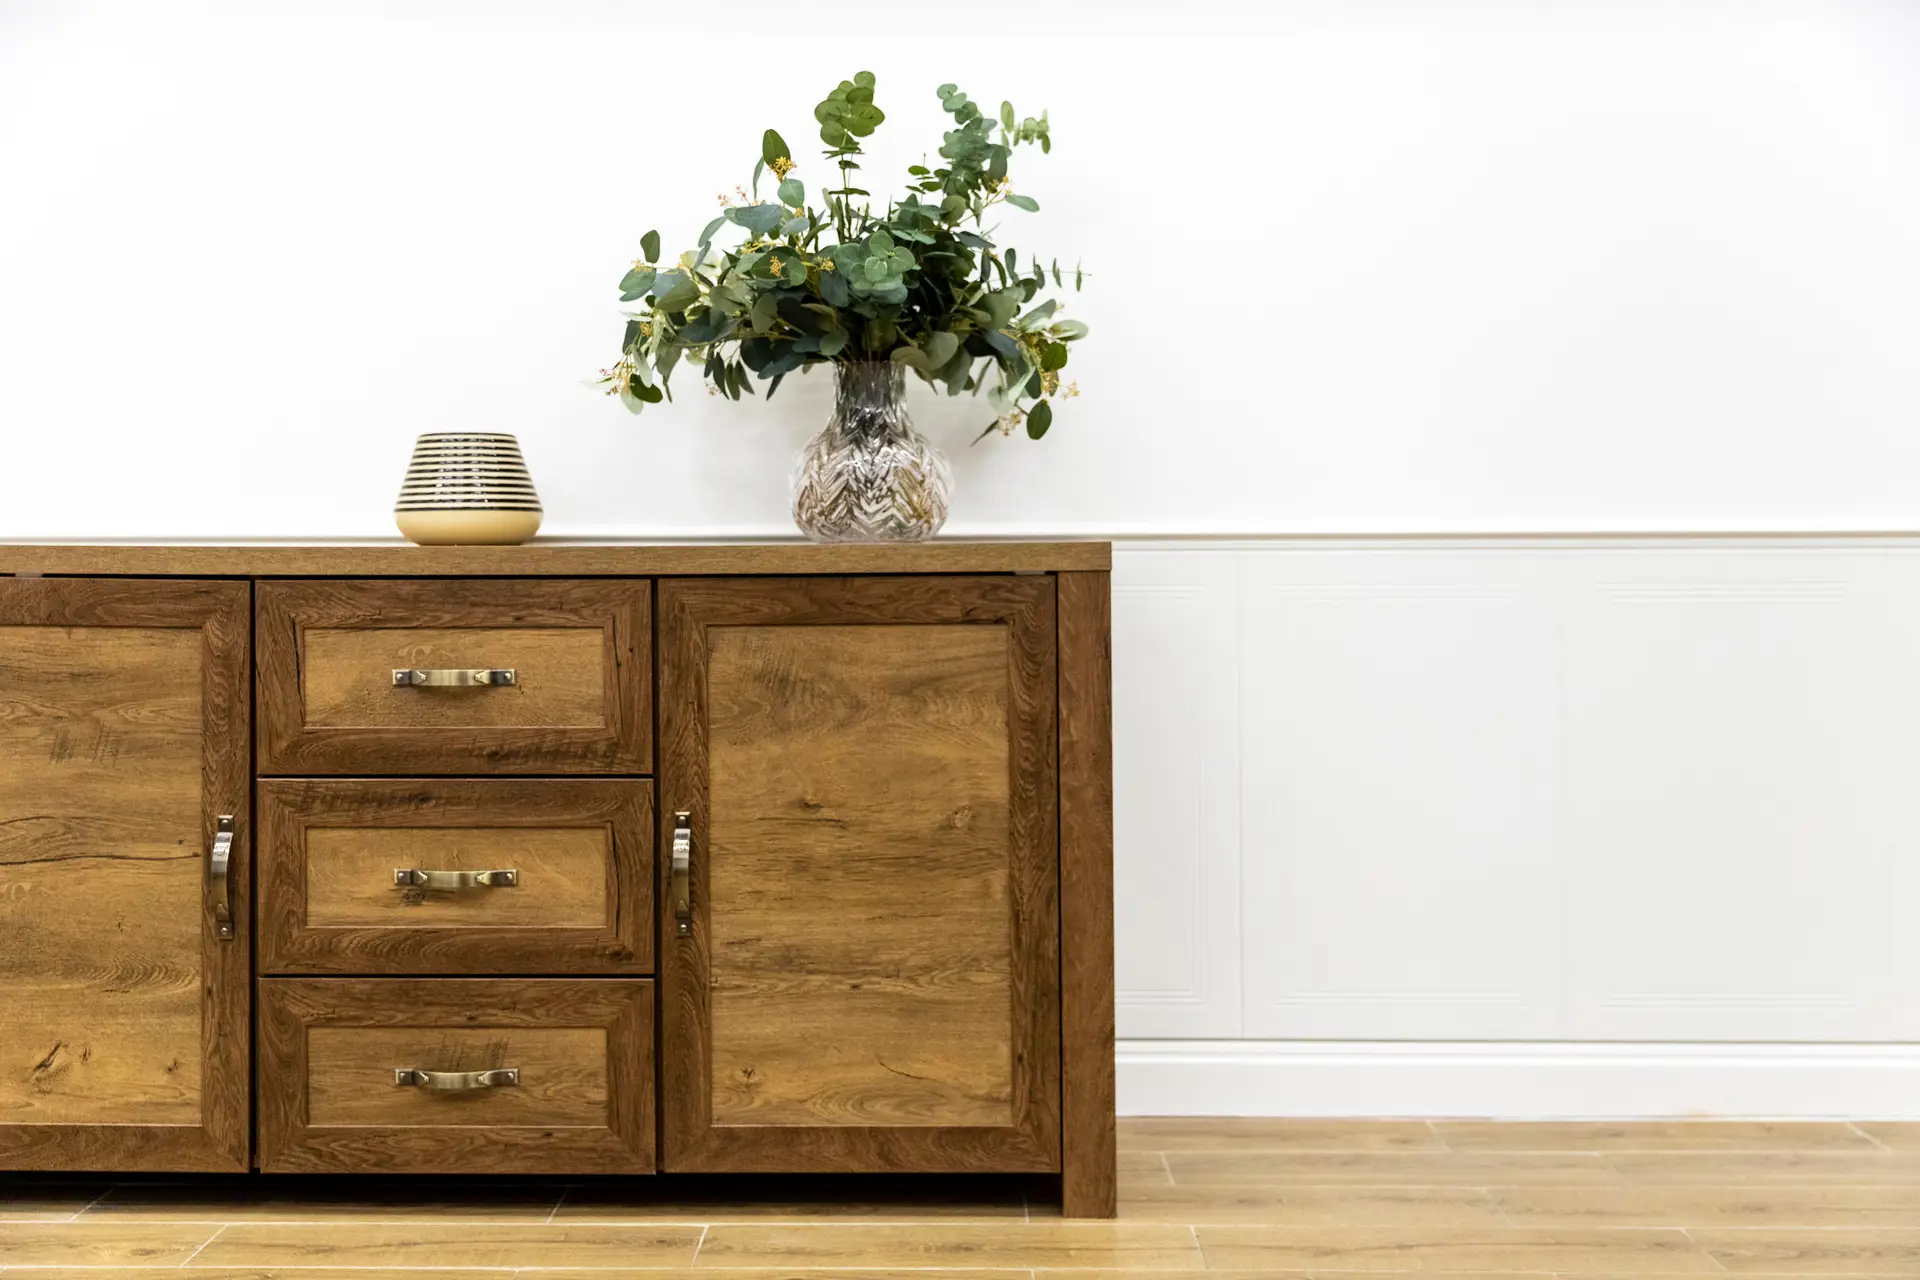
Restaining is more than just a cosmetic fix—it revives the natural beauty of wood while allowing you to shift the tone or color of your cabinets. If you love the texture of wood grain but want a darker, richer, or more modern look, restaining delivers that transformation while preserving the cabinet’s original material.
Some key benefits of restaining over painting include:
Retains natural wood grain and texture
Offers a timeless, elegant appearance
Increases longevity of the wood
Allows for color customization (from light oak to espresso tones)
That’s whykitchen cabinet restaining isn’t always the best route—especially when you want to preserve wood’s natural character.
Step 1: Evaluate Your Cabinets
Before you begin, assess whether your cabinets are suitable for restaining. Restaining works best on solid wood—not laminate, thermofoil, or MDF. Look for:
Visible wood grain
Structurally sound doors and drawers
Minimal damage or deep gouges
If your cabinets are painted or heavily stained, they may require extensive sanding or stripping. This can be time-consuming without professional tools and experience.
When in doubt, it’s wise to consult withkitchen cabinets painters who can evaluate your current finish and recommend the best approach—painting or restaining—for your kitchen.
Step 2: Choose the Right Stain
Choosing the right stain is about more than color. Stains come in different types, each with its pros and cons:
Oil-based stains penetrate deeply, creating rich color and durable results, but have longer dry times.
Water-based stains dry quickly, produce fewer fumes, and offer easier cleanup—ideal for busy households.
Gel stains have a thicker consistency and are easier to control on vertical surfaces like cabinet doors.
In addition to selecting a stain type, think about the finish: matte, satin, semi-gloss, or gloss. Your choice affects not only appearance but also durability and ease of cleaning.
If you’re not sure which combination is right, our kitchen cabinets painters can help you choose a stain that complements your countertops, flooring, and wall colors.
Step 3: Prep Thoroughly
Professional-quality results start with professional-grade prep. Skipping steps or rushing this part can lead to poor adhesion and uneven stains. Here’s a quick breakdown:
Remove doors, drawers, and hardware – Keep parts labeled and organized for easy reassembly.
Clean the surfaces – Use a degreaser like TSP to remove grime, oil, and cooking residue.
Sand every surface – This is essential for stain to penetrate properly. Start with medium grit and move to fine for smooth results.
Vacuum and tack cloth – Clean off all dust before staining begins to avoid blemishes in the finish.
Proper prep is one reason many homeowners hirekitchen cabinet repainting professionals—they bring the right tools, techniques, and attention to detail.
Step 4: Apply the Stain Like a Pro
Application is where many DIY projects go wrong. To avoid streaks, blotches, or inconsistent color, apply stain with patience and care:
Test the stain on a scrap piece or hidden section to preview the color.
Apply with a clean rag or brush in the direction of the wood grain.
Allow the stain to penetrate for a few minutes (longer for deeper color).
Wipe away excess using a lint-free cloth to prevent streaks.
Repeat the process for a darker, richer tone if needed.
Drying times vary by product, humidity, and temperature. Plan for adequate ventilation and drying time before moving to the next step.
Step 5: Protect With a Durable Topcoat
Stain alone won’t protect your cabinets from moisture, grease, or daily wear and tear. You’ll need a clear protective topcoat, such as:
Polyurethane (oil or water-based) – Tough and long-lasting, ideal for kitchens.
Lacquer – Provides a very smooth, durable finish, but is more difficult to apply without professional tools.
Conversion varnish – Ultra-durable and often used in professional-grade cabinet jobs.
Apply at least two coats, sanding lightly between each one. A good topcoat not only protects the wood but also enhances the depth and richness of the stain.
Professionals who offercabinet painting services have access to commercial-grade sealants and sprayers that give you a flawless finish.
Step 6: Reassemble and Reveal
Once everything is dry and cured, carefully reattach doors, drawers, and hardware. Take your time—rushing can scratch or dent the new finish.
This is the moment where your hard work (or your professional painter’s) truly shines. The wood looks fresh, smooth, and rich in tone—like a brand-new kitchen, without the new cabinet price tag.
Why Many Homeowners Choose Professional Kitchen Cabinets Painters
Restaining cabinets isn’t complicated, but it does require precision and patience. Between the sanding, staining, sealing, and reassembly, there’s a lot that can go wrong if you don’t have the right tools or experience.
Professionals bring value by:
Reducing the risk of mistakes
Using professional sprayers and high-end sealants
Completing projects quickly with minimal disruption
Helping you choose the right stain, tone, and finish
Cleaning up efficiently and leaving no mess behind
At CBS Pro Painters, we offer comprehensivecabinet painting services that include expert-level restaining. Whether you want to enhance the natural beauty of oak or modernize maple cabinets with a darker stain, we bring precision and craftsmanship to every project.
Let’s Bring Your Cabinets Back to Life
Ready to give your kitchen a fresh, timeless look without replacing your cabinets? Restaining offers the perfect balance of warmth, elegance, and affordability. Whether you’re planning to DIY or would prefer a professional finish, CBS Pro Painters is here to help.
Our experiencedkitchen cabinets painters specialize in delivering beautiful, long-lasting finishes that stand up to daily use. From helping you choose the right stain to completing the project with precision, we’re committed to making your vision a reality.
Contact us today to schedule a free consultation and explore how we can transform your cabinets with skill and care.