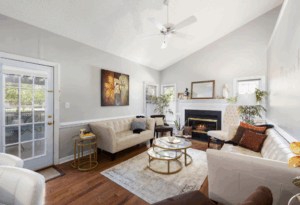
Every successful paint job—especially in Woodland, Washington—begins long before the first brushstroke: with meticulous Painting Prep Work. From damp Pacific Northwest air to aged wood siding, the unique conditions in Woodland demand extra care. Skipping Surface Preparation Painting isn’t just risky—it threatens your paint’s durability, finish quality, and lasting value.
In this blog, we’ll unpack why Importance of Painting Prep is often overlooked, yet so critical for both interior and exterior projects. You’ll discover how clearing dirt, sanding rough spots, and applying the right primer helps your paint adhere better, resist weather, and look flawless for years. We’ll walk you through each step—Cleaning, Sanding, Priming—with practical tips tailored to Woodland’s climate, showcase a handy checklist graphic, and share insights only local experience can teach. Whether you’re planning to DIY or want your contractor to do it right, this guide lays the groundwork—literally—for a painting project that stands up to time.
Paint isn’t just about color—it’s about protection and long-term value. The Importance of Painting Prep is that it ensures your paint bonds tightly to the surface, reducing risks of peeling, blistering, or premature fading. Think of it as laying the foundation of a house: without it, everything on top is unstable.
In Woodland, WA, where the climate brings both heavy rain and humid summers, surfaces face constant exposure to moisture. This makes thorough Painting Prep Work even more essential. A well-prepped surface will help paint resist mold, mildew, and the cracking that often comes with damp conditions.
In short: prep equals longevity. A paint job done without proper Surface Preparation Painting might last three to five years, while one with proper prep could look sharp for ten years or more.
Successful painting prep involves three core steps—Cleaning, Sanding, and Priming—plus additional repairs and protective measures. Each plays a unique role in ensuring professional-quality results.
You can’t apply paint over dirt, dust, mildew, or chalk and expect it to last. That’s why Painting Prep Work always begins with cleaning—especially in Woodland, Washington, where rain and moss-prone surfaces are common.
Start by assessing the surface: exterior siding, trim, or interior walls might hide mildew or mold. A mix of mild detergent and warm water works well for general cleaning; for stubborn grime or exterior wood, a pressure washer or sugar-soap solution ensures a clean, fresh substrate. Wash, rinse thoroughly, and allow surfaces to dry fully—especially critical before primer.
Unique local insight: In Woodland’s moist climate, wood siding often harbors algae even under eaves. A mild bleach-based cleaner (rinsed well) or an eco-friendly vinegar surfactant helps strip and resist regrowth effectively.
Examples:
Exterior cedar siding: wash with biodegradable cleaner, then allow a 24-hour dry window before sanding.
Interior kitchen wall: wipe with degreasing solution then rinse for primer readiness.
By starting with spotless, dry surfaces, you lay the foundation for adhesion—and for your paint to last far beyond a season.
Once surfaces are clean and dry, it’s time to sand. Sanding creates a slightly rough texture that helps new paint grip firmly. Skipping sanding often leads to peeling, especially on glossy finishes or older painted surfaces.
For exteriors in Woodland, sanding is especially important for wood siding that has absorbed moisture and raised grain. Start with medium grit (100–120) for removing old paint or imperfections, then move to finer grit (150–180) to smooth surfaces before priming.
Hand sanding works for small areas, trim, or delicate finishes, while power sanders make large siding projects faster. Always wipe surfaces with a tack cloth or vacuum after sanding to remove fine dust particles before primer.
Pro tip: Pay extra attention to window sills, trim edges, and high-moisture areas. These spots often peel first if not properly sanded.

Many homeowners think primer is optional—but in reality, it’s the step that ensures durability and professional results. Primers seal porous surfaces, block stains, and create a uniform base so paint color looks even.
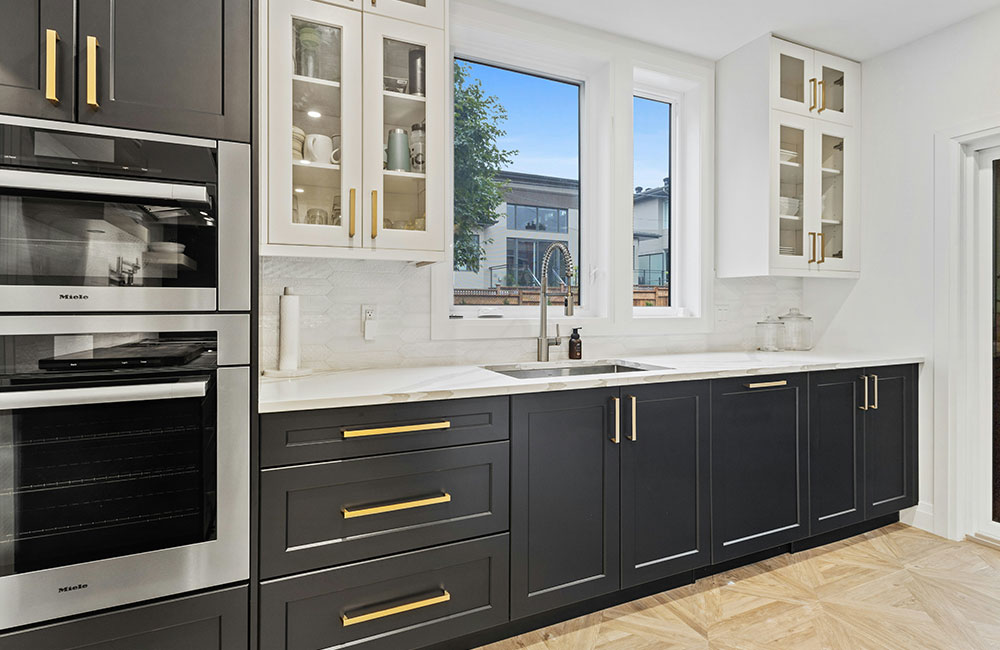
In Woodland’s wet climate, primers also add a protective barrier against moisture. For wood siding, an oil-based primer can help prevent tannin bleed, while masonry surfaces may require a masonry-specific primer. For interiors, stain-blocking primers work wonders in kitchens and bathrooms prone to humidity.
Skipping primer often means paint soaks unevenly, requiring more coats and leading to quicker failure. By priming first, you reduce overall paint use and guarantee longer life.
No matter how thorough your cleaning, most surfaces will reveal defects. Cracks, nail holes, dents, and areas with peeling paint need repair before painting begins.
Use filler or spackle for small holes and cracks.
Apply caulk to seal gaps around trim and windows.
Treat mold with a mold-killing solution before painting to prevent regrowth.
In Woodland homes, moisture damage is common, so always check lower siding panels, window sills, and bathroom ceilings. Proper repairs not only improve appearance but prevent further structural damage.
Once surfaces are repaired, sanded, and primed, it’s time to protect your surroundings. Nothing ruins a paint job like splatters on floors, windows, or trim.
Use high-quality painter’s tape for crisp lines and invest in drop cloths that won’t tear. For exteriors, plastic sheeting helps shield shrubs, decks, or outdoor furniture from overspray.
In Woodland’s breezy weather, be sure to secure coverings tightly so they don’t shift mid-project.
Professional painters know preparation requires the right tools. Here’s a quick checklist:
Pressure washer or garden hose with scrub brush
Mild detergent or eco-friendly cleaner
Sandpaper (100–180 grit) or power sander
Caulk and filler
Tack cloths or vacuum
Primer suited for the surface
Painter’s tape and drop cloths
Having everything on hand saves time and ensures no prep step gets skipped.
Checklist Graphic Concept:
Clean surface (wash & rinse)
Inspect and repair (cracks, holes, mold)
Sand and smooth
Remove dust (vacuum/tack cloth)
Apply primer suitable for the surface
Protect surroundings (tape, drop cloths)
Final inspection before painting
Alt text: “Cleaning, sanding, priming checklist for painting prep work in Woodland Washington”
Weather can make or break your prep work. In Woodland, summer and early fall are the best times for exterior prep and painting. Avoid rainy days and ensure surfaces have at least 24–48 hours to dry after washing before you sand or prime.
Humidity slows drying, so always check that surfaces are fully dry before applying the next layer.
A local homeowner in Woodland planned to repaint their cedar siding. Initially, they wanted to skip sanding and priming to save time. But after professional advice, they invested in full prep: pressure washing, sanding raised wood grain, repairing cracks, and applying oil-based primer. The result? Their paint finish still looked fresh five years later, while their neighbor—who skipped prep—had peeling and fading within two years.
The difference wasn’t the paint—it was the prep.
Skipping primer: leads to uneven absorption and early peeling.
Not waiting for surfaces to dry: traps moisture, causing blistering.
Rushing sanding: leaves gloss, preventing adhesion.
Using low-quality tape or drop cloths: causes messy edges and splatters.
Avoid these mistakes by following the checklist and pacing yourself properly.
Woodland’s Pacific Northwest environment requires special prep techniques. Cedar siding, common in the area, absorbs moisture easily—so drying and priming are critical. Eco-conscious homeowners can also benefit from biodegradable cleaners and recyclable drop cloths, which reduce environmental impact while keeping prep thorough.
Painting Prep Work is the foundation for adhesion, durability, and a smooth finish.
Cleaning removes dirt, mildew, and barriers to bonding.
Sanding improves adhesion and prevents peeling.
Priming seals surfaces and ensures color uniformity.
Repairs prevent future damage and mold growth.
Protecting surroundings ensures a clean, professional job.
Woodland’s weather requires patience and proper timing.
At least 24 hours, longer if humidity is high. Surfaces must be fully dry before primer.
Start with 100–120 grit for removing old finish, then finish with 150–180 grit for smoothing.
No. Primer ensures adhesion, prevents peeling, and reduces coats of paint needed.
Vinegar-based or biodegradable cleaners are safe alternatives to harsh chemicals.
After sanding and cleaning, but before priming, to keep adjacent surfaces clean.
Your home in Woodland, Washington deserves a paint job that’s not just beautiful—but built to last through damp winters and temperate summers alike. And that starts with Painting Prep Work, a step often hidden behind ladders and tarps but truly where the magic—and durability—happens.
When you commit to thorough Surface Preparation Painting—cleaning moss and mildew, sanding rough siding, applying the right primer, and masking trim—you’re investing in a finish that endures for years.
Ready to see the difference proper prep makes? Start your project with confidence—or reach out to professionals offering Full-Service Painting Prep in Woodland, Washington who understand the local climate and materials. Either way, your walls are worth the care—and will thank you with a stunning, long-lasting result.